- On the server, go to the Time Machine menu item and select enter Time Machine. This will mount your Time Machine disk image automatically.
- On another machine open up an ssh session as an administrator (or you can mount the Time Machine backup image manually and do this locally)
- sudo bash to get a root shell (the Open Directory files are not accessible to a regular admin account)
- Stop the Open Directory Service with “serveradmin stop dirserv”
- cd to /Volumes/Time Machine Backups/Backups.backupdb/servername
- Here you will find a list of directories with the Time Machine backup sessions. Find one that is just before OD started going south and cd into it and descend to : /Volumes/Time Machine Backups/Backups.backupdb/servername/date/servername/private/var/db
- Then sync the data from the backup onto the source disk with : rsync -av openldap/ /private/var/db/openldap/
- Start the Open Directory Service with “serveradmin start dirserv”
Leave A Comment
Related Posts
Category: Hardware
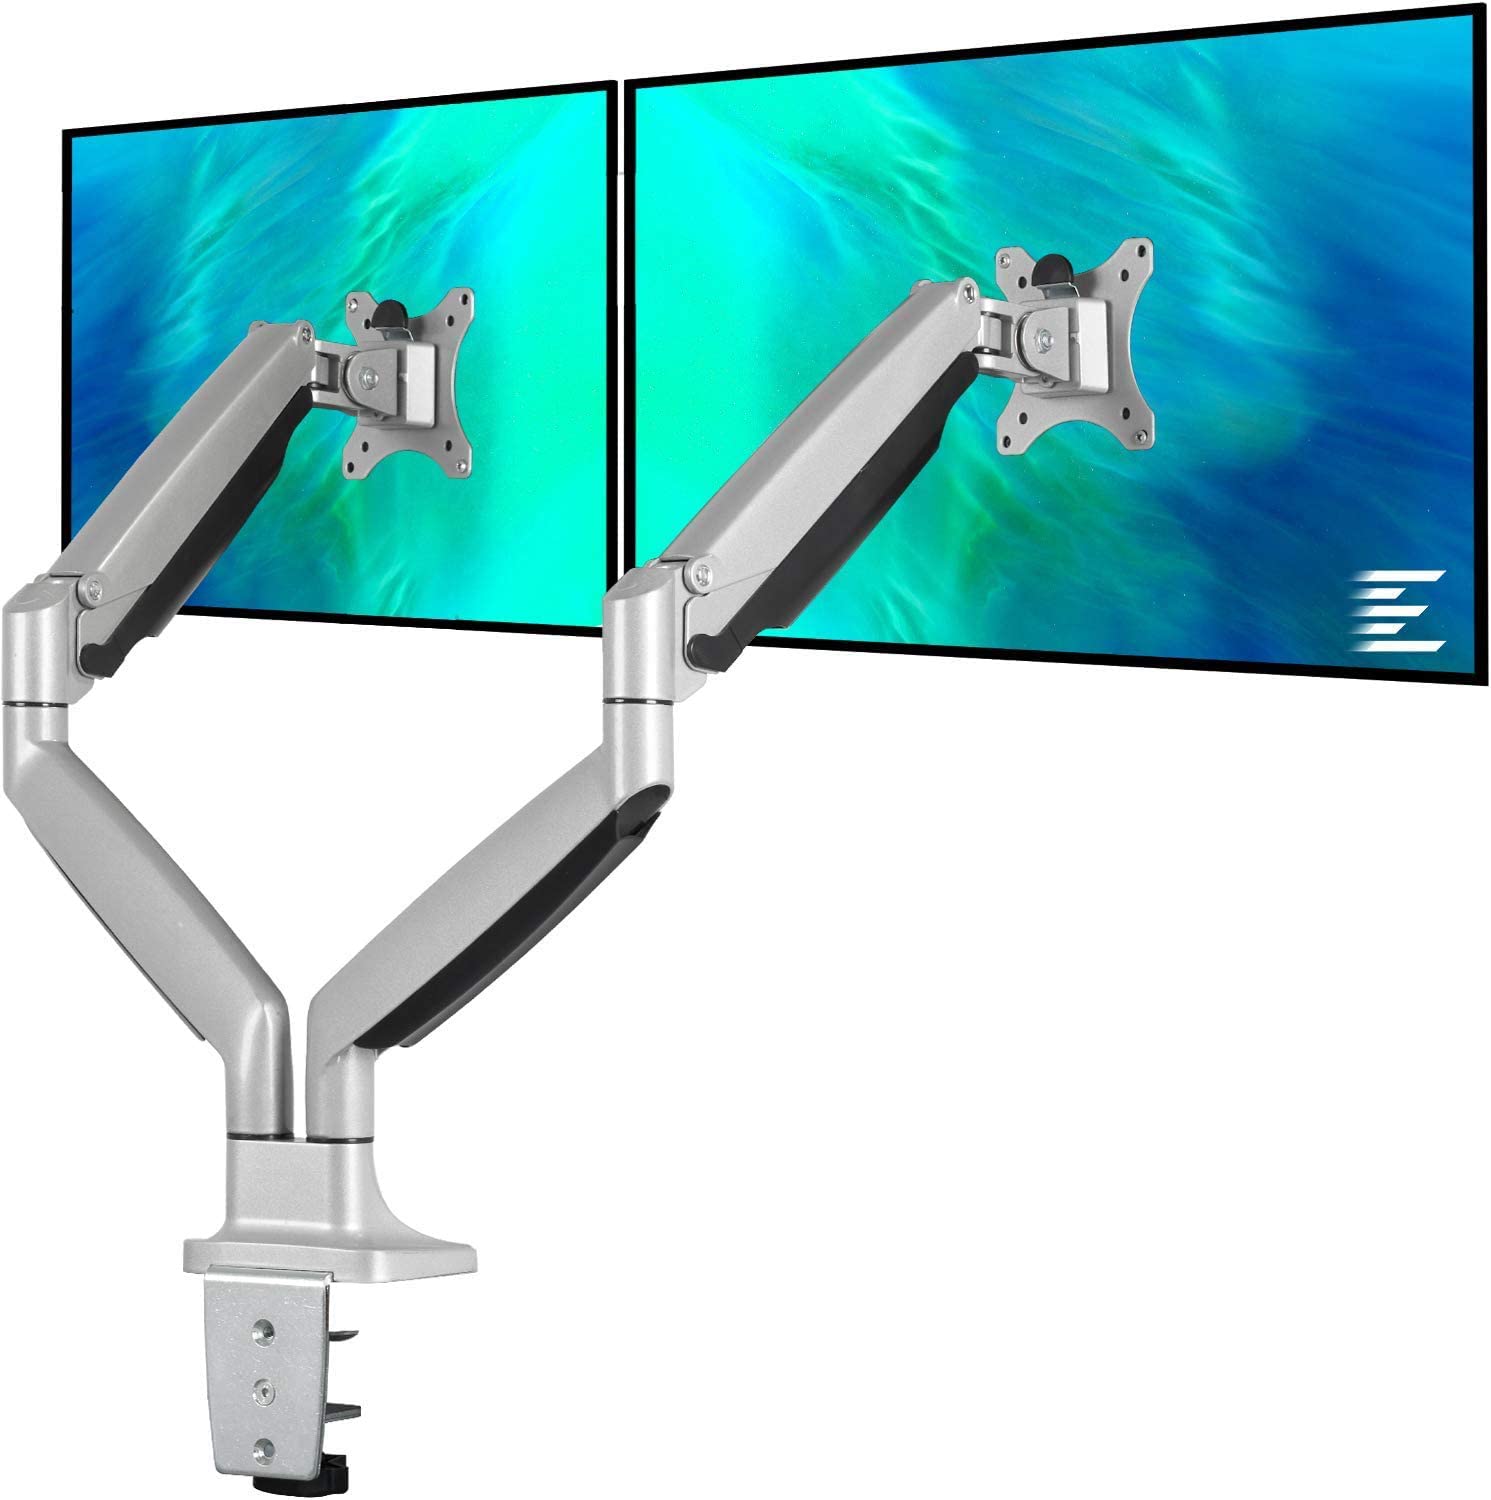
This EleTab Dual Monitor Mount stand gives you back your desk by eliminating the stands from both of your monitors. This EleTab Dual Monitor [...]
Category: Hardware
I've been a fan of Dell monitors for a while now, currently I use three Dell Monitors connected to a Mac mini. Two of them [...]
Category: General
A client had been maintaining their own WordPress website and decided to update the Elementor Pro plugin. Now, the site had not been touched [...]


